Cleaning Out Garage
Cleaning & thinning out your garage.
IMPORTANT NOTE: Epoxy-King does not remove items for liability reasons.
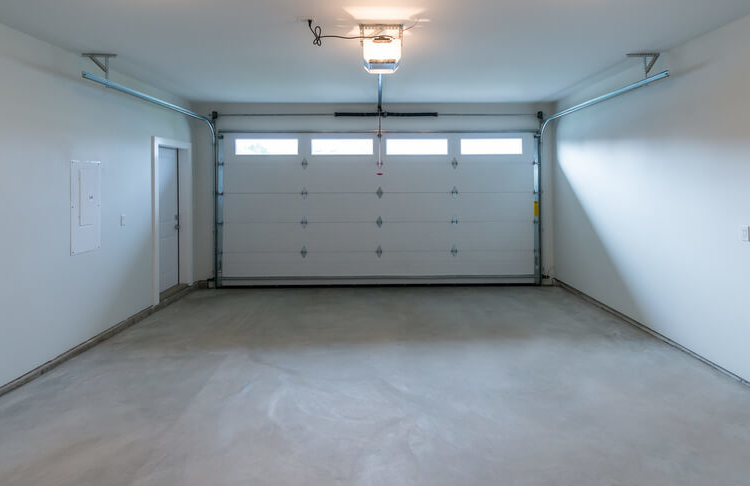
NEW HOME: If you just built a new house and your garage is pretty much empty, there could not be a better time to Epoxy your Garage Floor!
LIVED IN HOME: However, if you have live in your house a number of years, items have a way of piling up and cluttering up your life. Epoxy-King recognizes that it is a daunting task to figure out even where to start when it comes to decluttering and emptying your garage. Because of this, here are some great tips to emptying your garage prior to your Epoxy Garage Floor installation.
STORAGE CONTAINER – Use a storage container company; to place container in your driveway to keep the items you want to keep
- TIME – Give yourself ample time. …
- LET GO – Discard, sell (garage sale), or donate items that you don’t use anymore
- GET HELP – Hire extra help…
- INCREASE STORAGE – Overhead Garage Storage Racks and Tubs from Home Depot
- TOSS IT – Call junk removal to discard your unwanted items or do it yourself.
- REORGANIZE – Put everything in its place… reorganize your prioritized items
A STORAGE CONTAINER IS THE RIGHT MOVE FOR LOW STRESS: When preparing for a garage floor epoxy installation, efficient storage solutions like PODS, Mule Box OR Capsule can simplify the process.
STEP-BY-STEP GUIDE:
1. Choose the Right Container: PODS: Portable, on-site storage units that can be delivered and picked up at your convenience. – Mule Box & Capsule are similar to PODS, these containers are designed for ease of access and mobility.
2. Schedule Delivery: Arrange for the container to be delivered a few days before you start the garage floor preparation. This gives you ample time to sort and pack your belongings.
3. Organize and Pack: Declutter: Sort through items and decide what to keep, donate, or discard. – **Packing:** Use sturdy boxes, bubble wrap for fragile items, and blankets for larger items. Label each box clearly to make unpacking easier.
4. Load the Container: Load heavier items first to create a stable base. – Stack boxes neatly, leaving walkways for easy access. (See Local Movers Below)
5. Secure the Container: Lock the container to ensure the safety of your belongings.
6. Post-Installation: Allow the epoxy floor to cure completely before moving items back into the garage. – Reverse the loading process: unload, unpack, and arrange your garage with a fresh, organized approach.
BENEFITS:
1. Convenience: Having a storage container on-site allows you to access your items whenever needed without multiple trips to a storage facility.
2. Protection: Keeps your belongings safe from potential damage during the epoxy installation process.
3. Organization: An opportunity to declutter and reorganize your garage, ensuring a cleaner and more functional space once the epoxy floor is complete. Using a storage container can streamline the garage floor epoxy installation, making the process more efficient and less stressful.
We hope this helps and look forward to the prospect of installing your new Industrial Hybrid Epoxy / Polyaspartic Garage Floor!
LOCAL MOVERS
Let local movers do the heavy lifting.


